Land navigation gets easier when the map stops feeling like an abstract diagram. One useful habit is to turn the map so it matches the terrain around you. This is called orienting the map. It helps you compare what you see with what the map shows, and notice sooner when something doesn’t match.
You can practice this skill on a familiar trail with a paper map and compass. No advanced route-planning experience is needed.
Start by matching the map to the ground
A map is easier to read when its features point in the same direction as the real landscape. Before you set off, pause somewhere safe and identify two features you can recognize both on the map and around you.
Look for clear features such as:
- A trail junction or road
- A stream or stream crossing
- A ridge, hill, or valley
- A lake or other distinctive boundary
Hold the map flat and turn it until those features line up with what you see. If a ridge runs from left to right in front of you, for example, find the ridge on the map and turn the map until it runs in the same direction. Check a second feature before settling on the map’s orientation.
This is a practical way to connect the map with the terrain, rather than trying to make sense of the page while it faces a different direction. Natural Resources Canada’s guide to orienting a topographic map describes the same basic idea: match map features with their counterparts on the ground.

Add a compass check
Terrain features can help orient a map, but a compass gives you a consistent reference for direction. A simple check is to compare the map’s north-south lines with the compass.
- Place the map on a level surface, or hold it flat.
- Put the compass on the map and align its north-south orienting lines with the map’s north-south grid lines.
- Turn the map and compass together until the compass needle aligns with the compass’s orienting arrow.
- Check the terrain again. The features around you should still line up with the features on the map.
This check depends on the map and compass using compatible north references. A compass needle points to magnetic north, while map grid lines may refer to grid or true north. If your compass has adjustable declination, set it using the current value for your location and follow the compass maker’s instructions. If you’re unsure how to do that, use the map’s information and your compass manual before relying on a bearing.
Use the map to choose a short route
Once you’ve oriented the map, choose a nearby feature you can identify as a checkpoint. It might be a trail bend, a stream crossing, or a saddle between two higher areas. Before moving, ask yourself:
- What should I encounter first?
- What should be on my left and right?
- Which feature will confirm that I’ve reached the checkpoint?
This gives you something concrete to check as you walk. Instead of trying to follow a long route in one go, move from one recognizable feature to the next. At each checkpoint, pause, look at the map, and confirm that the ground still fits.
A compass can also help you travel toward a visible checkpoint. Place the edge of a baseplate compass between your position and the checkpoint on the map. Point the direction-of-travel arrow toward the checkpoint, then set the compass bezel according to its instructions. Account for local magnetic declination before relying on the bearing. Once you’ve taken the compass off the map, turn yourself until the needle sits inside the compass’s orienting arrow. The direction-of-travel arrow then indicates the direction to go.
Use a nearby feature as a checkpoint rather than trying to travel a long distance on a single bearing. When the terrain offers a clear handrail (such as a trail, stream, or ridge) you can use it to help keep track of your progress. Don’t follow a bearing into unsafe terrain or across a feature you cannot cross safely.

What to do when the terrain doesn’t match
If the ground doesn’t fit the map, don’t keep walking and hope the mismatch resolves itself. Stop in a safe place and check your last confirmed location.
Look again for the feature you used as a checkpoint. Consider whether you misread a trail junction, overlooked a stream, or turned the map the wrong way. If you can’t confirm where you are, return to the last point you recognized, if it’s safe to do so, and reorient the map there. Avoid making a string of guesses to force the route to fit.
A small pause can prevent a minor uncertainty from becoming a larger one. If visibility is poor, conditions are changing, or you feel unsure about the route, make a conservative decision. Turn back, stay on a marked route, or seek help as appropriate.
Keep GPS as one tool, not your only plan
GPS is useful for checking your position and recording a route. But a device depends on working equipment, power, and reliable positioning information. A dead battery, damaged device, or poor signal can limit its usefulness. Positioning signals can also be disrupted or misleading in some situations.
The U.S. Cybersecurity and Infrastructure Security Agency notes that no single positioning, navigation, and timing system, including GPS, can meet every user’s needs. A paper map and compass provide a separate way to understand your surroundings when a device isn’t available or isn’t giving you enough confidence.
That doesn’t mean you need to leave GPS behind. It means you should know how to navigate without depending on it. Carry a suitable paper map and compass, learn how to use them, and keep your route within your skill level. Before heading out, check local conditions, tell someone your plan, and set a time to check in.
Practice on familiar ground
You can build this skill a little at a time. On a familiar trail, stop at a junction and orient your map. Identify a nearby checkpoint, predict what you’ll see along the way, and check your prediction when you arrive. Repeat the process at the next stop.
Familiar terrain is useful because you can focus on matching features rather than worrying about being lost. As you gain practice, try a new route with a current map and a trusted companion. Keep your decisions conservative, and don’t use an unfamiliar route as a test of your limits.
For hands-on practice, Carolina Preparedness offers a beginner-to-intermediate, one-day Map Reading and Land Navigation course. The course uses a topographic map and handheld compass. If a date isn’t listed, you can also check upcoming classes or add your interest through the course catalog.
Orienting the map is a small habit that makes the landscape easier to read. Try it on your next familiar walk, and take a moment to practice before you need it.
Excerpt: Learn a simple land navigation habit: orient your map to the terrain, confirm direction with a compass, and practice using nearby features as checkpoints.
SEO title: Land Navigation for Beginners: Orient Your Map to the Terrain
Meta description: Improve land navigation with a simple map-orientation technique, a basic compass check, and practical advice for navigating without relying on GPS alone.
Focus keyword: land navigation
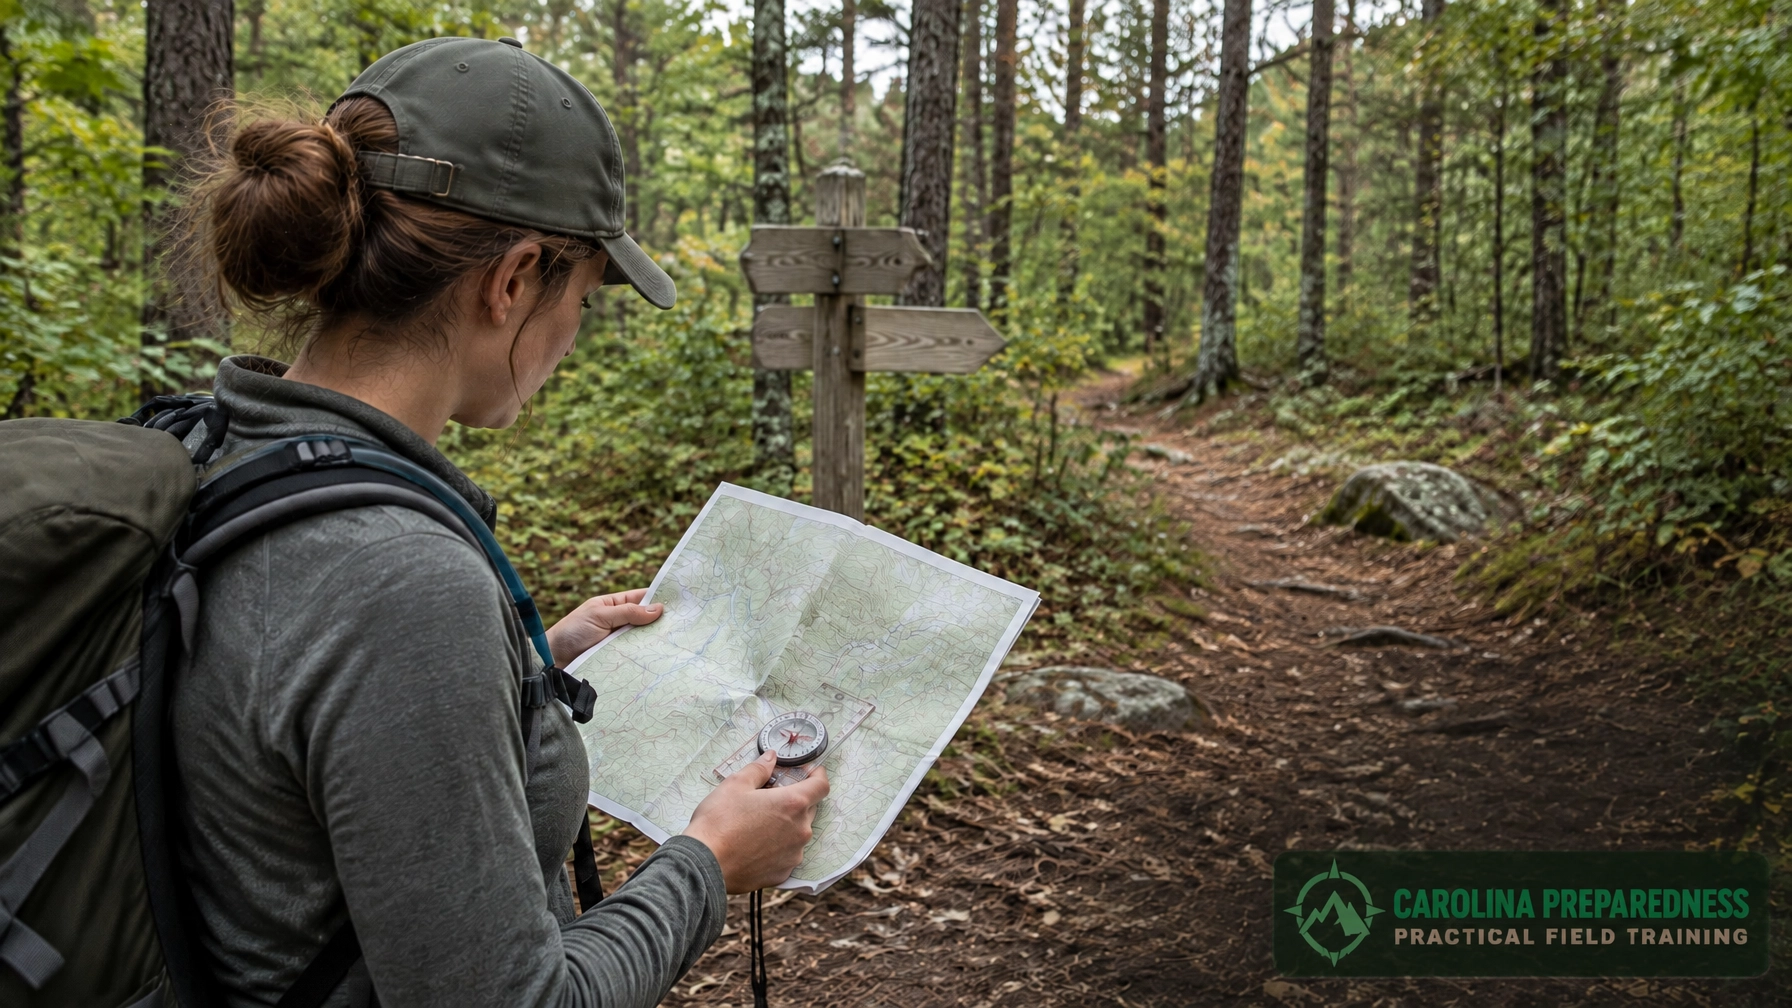
Featured image alt text: Hiker checks a topographic map and compass against the terrain on a wooded trail.
Tags: land navigation, map and compass, navigation for beginners, wilderness skills, Carolina Preparedness